
Docs navigation
Get started
AI agents
Connect
Operate
Day to day
When it breaks
Govern access
Team & account
Access
Identity concepts
Provider guides
Account
Keycloak
Connect Keycloak to emisar: a confidential OIDC client with PKCE for sign-in. Keycloak has no outbound SCIM, and the directory-sync section shows what that leaves you to do.
- Keycloak realm-admin access.
- An emisar owner or admin.
The screenshots use Keycloak 26.7. Earlier versions arrange the same settings differently.
Single sign-on#
Connecting an identity provider is a paid feature. Only available on Team & Enterprise.
-
1
In emisar
Start the connection.
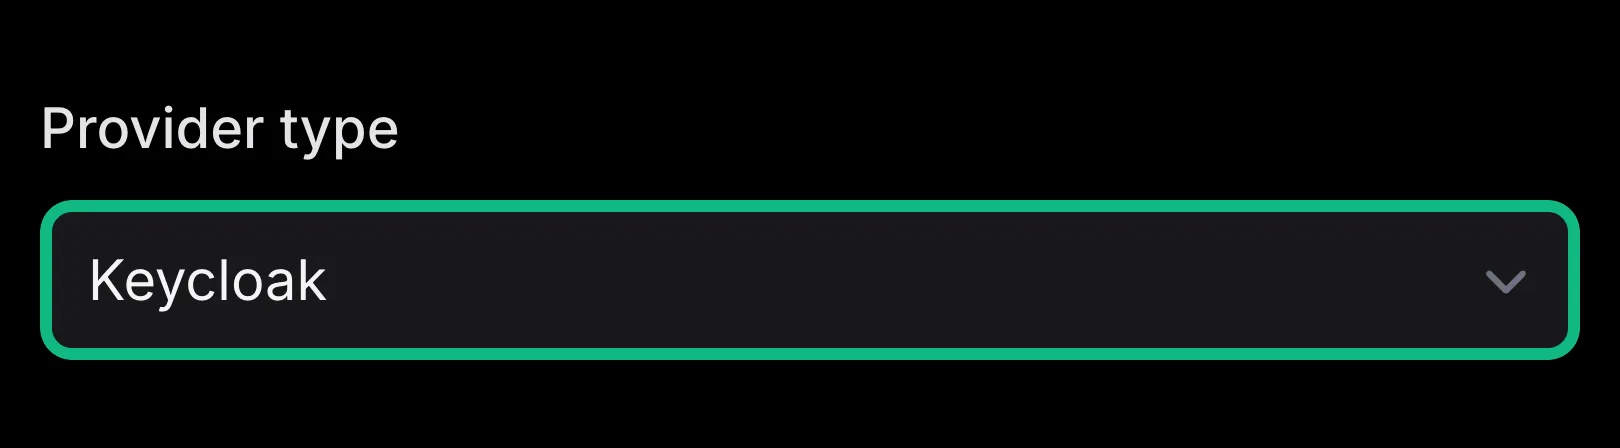
Open Team → Single sign-on → Add connection and choose Keycloak. Leave the page open: the callback URL on it is what Keycloak asks for next, and Keycloak's values come back here at the end.
emisar · Add connectionPicking the provider here tailors the rest of the form to it. -
2
In Keycloak
Start an OpenID Connect client.
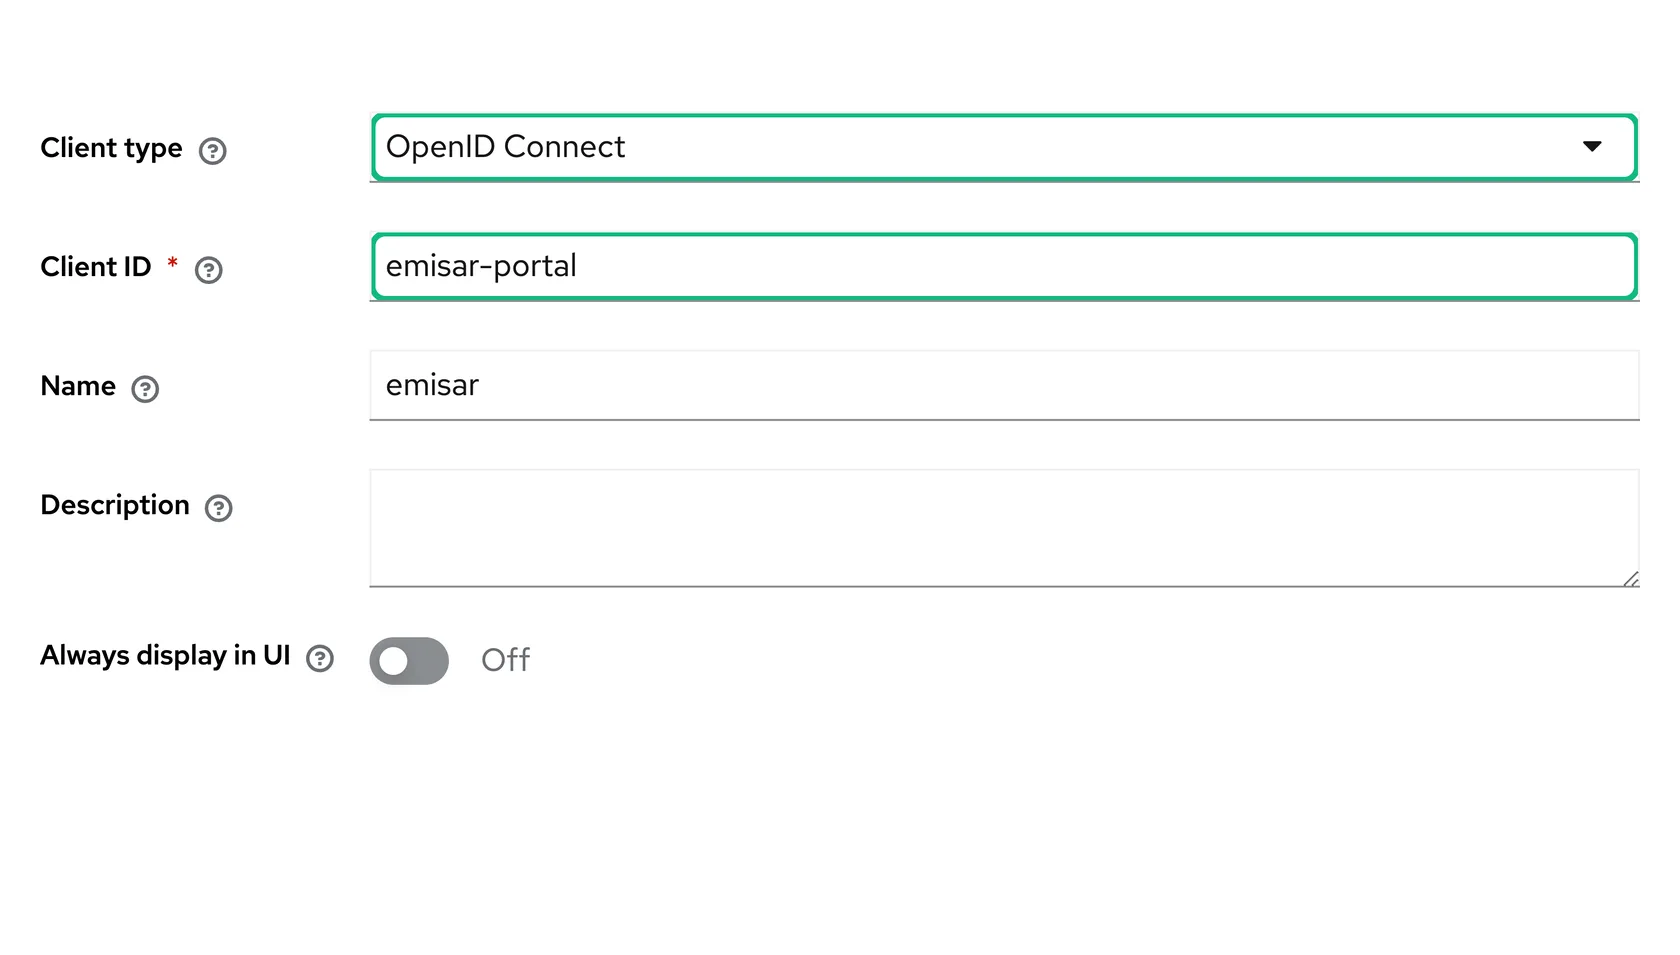
In the Keycloak Admin Console, choose your realm, then go to Clients → Create client. Leave Client type on OpenID Connect, set Client ID to
emisar-portal, and click Next.Keycloak Admin Console · General settingsCreate an OpenID Connect client for the emisar web application. -
3
In Keycloak
Enable only the flow emisar uses.
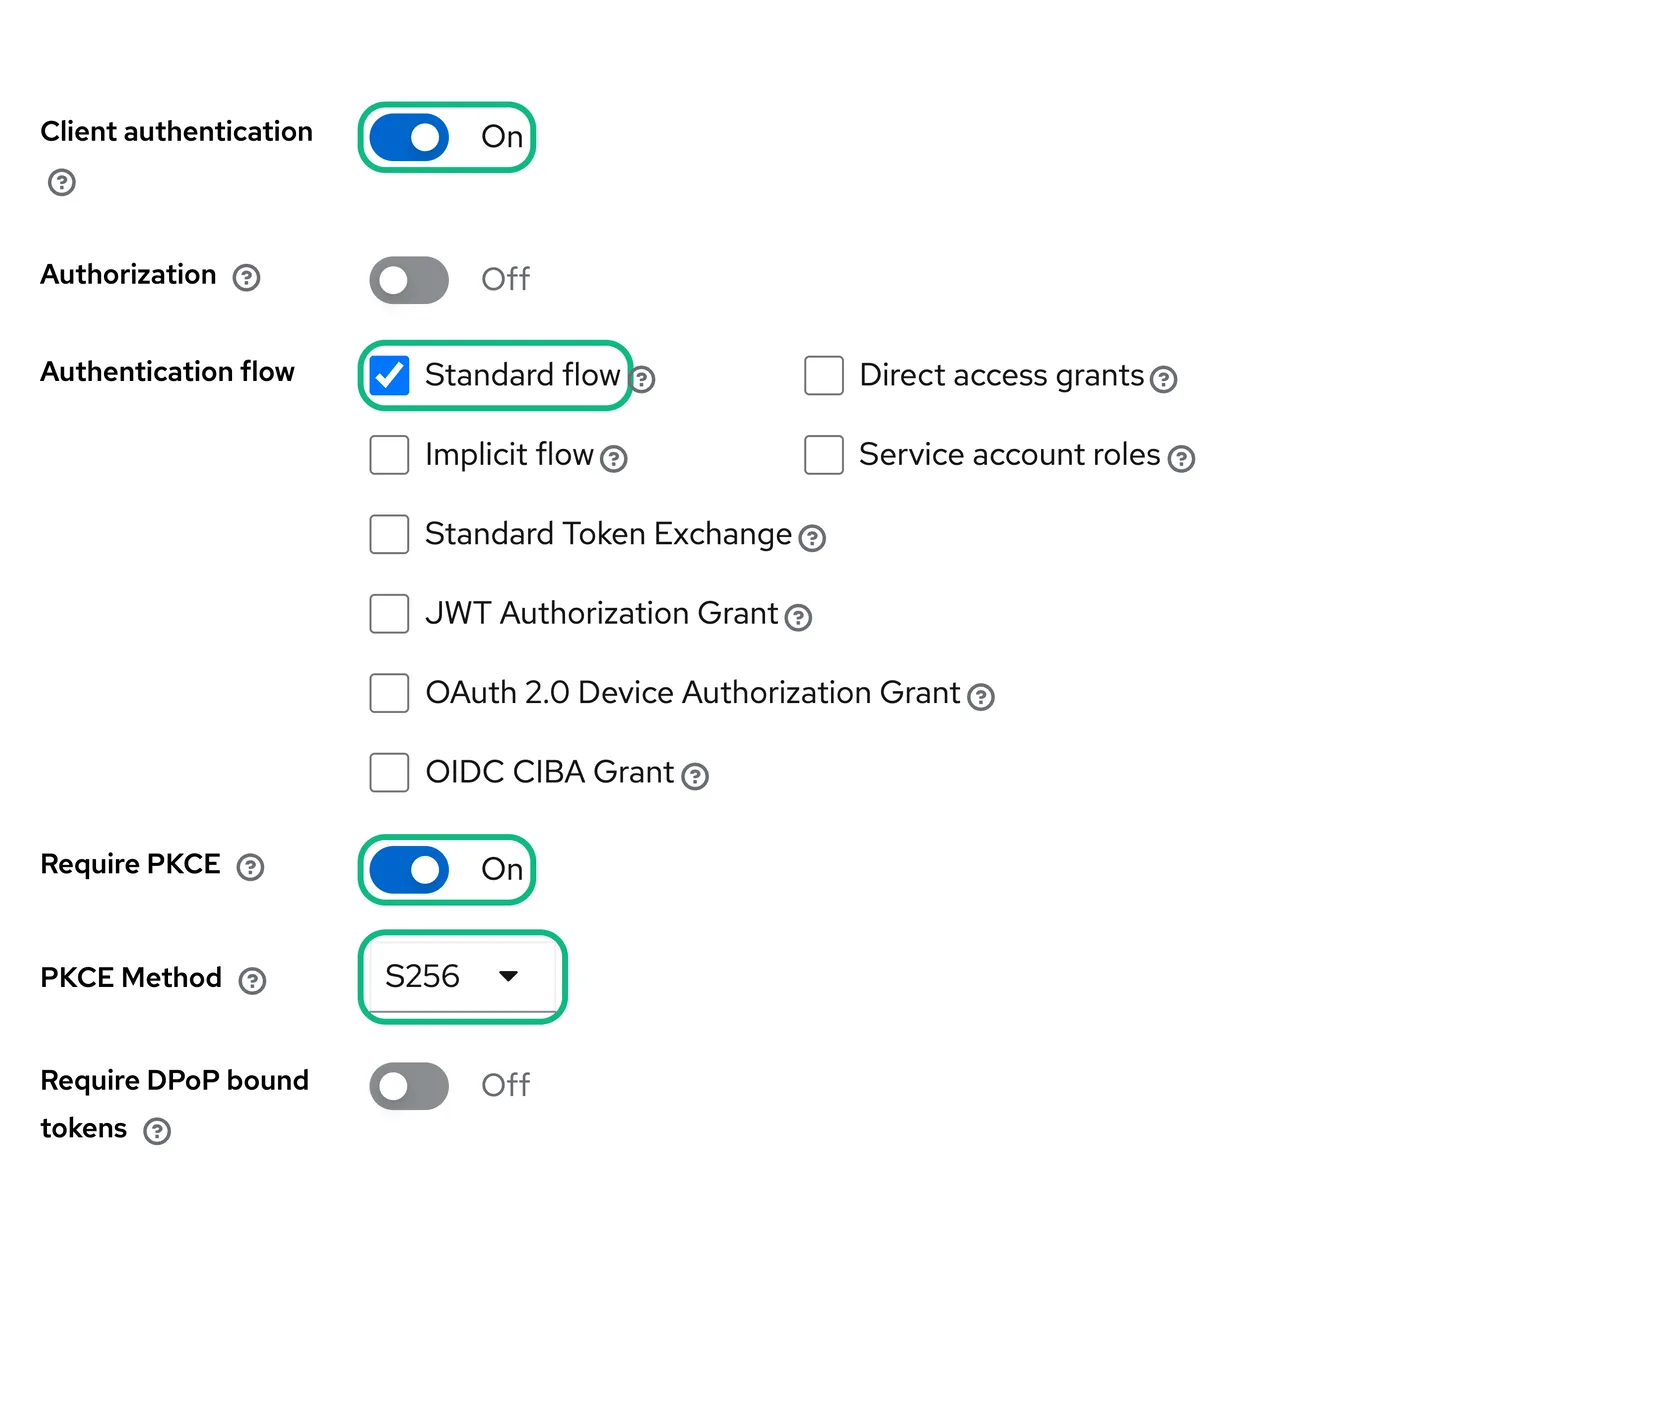
Set the capability controls before continuing:
- Client authentication
- On.
- Standard flow
- On.
- Require PKCE
-
On, with method
S256. - Every other flow
- Off. This includes Authorization, DPoP, Direct access grants, Implicit flow, Service accounts roles, and both device flows.
Select Next.
Keycloak Admin Console · Capability configA confidential client using the authorization-code flow with PKCE. -
4
In Keycloak
Register the exact redirect URI.
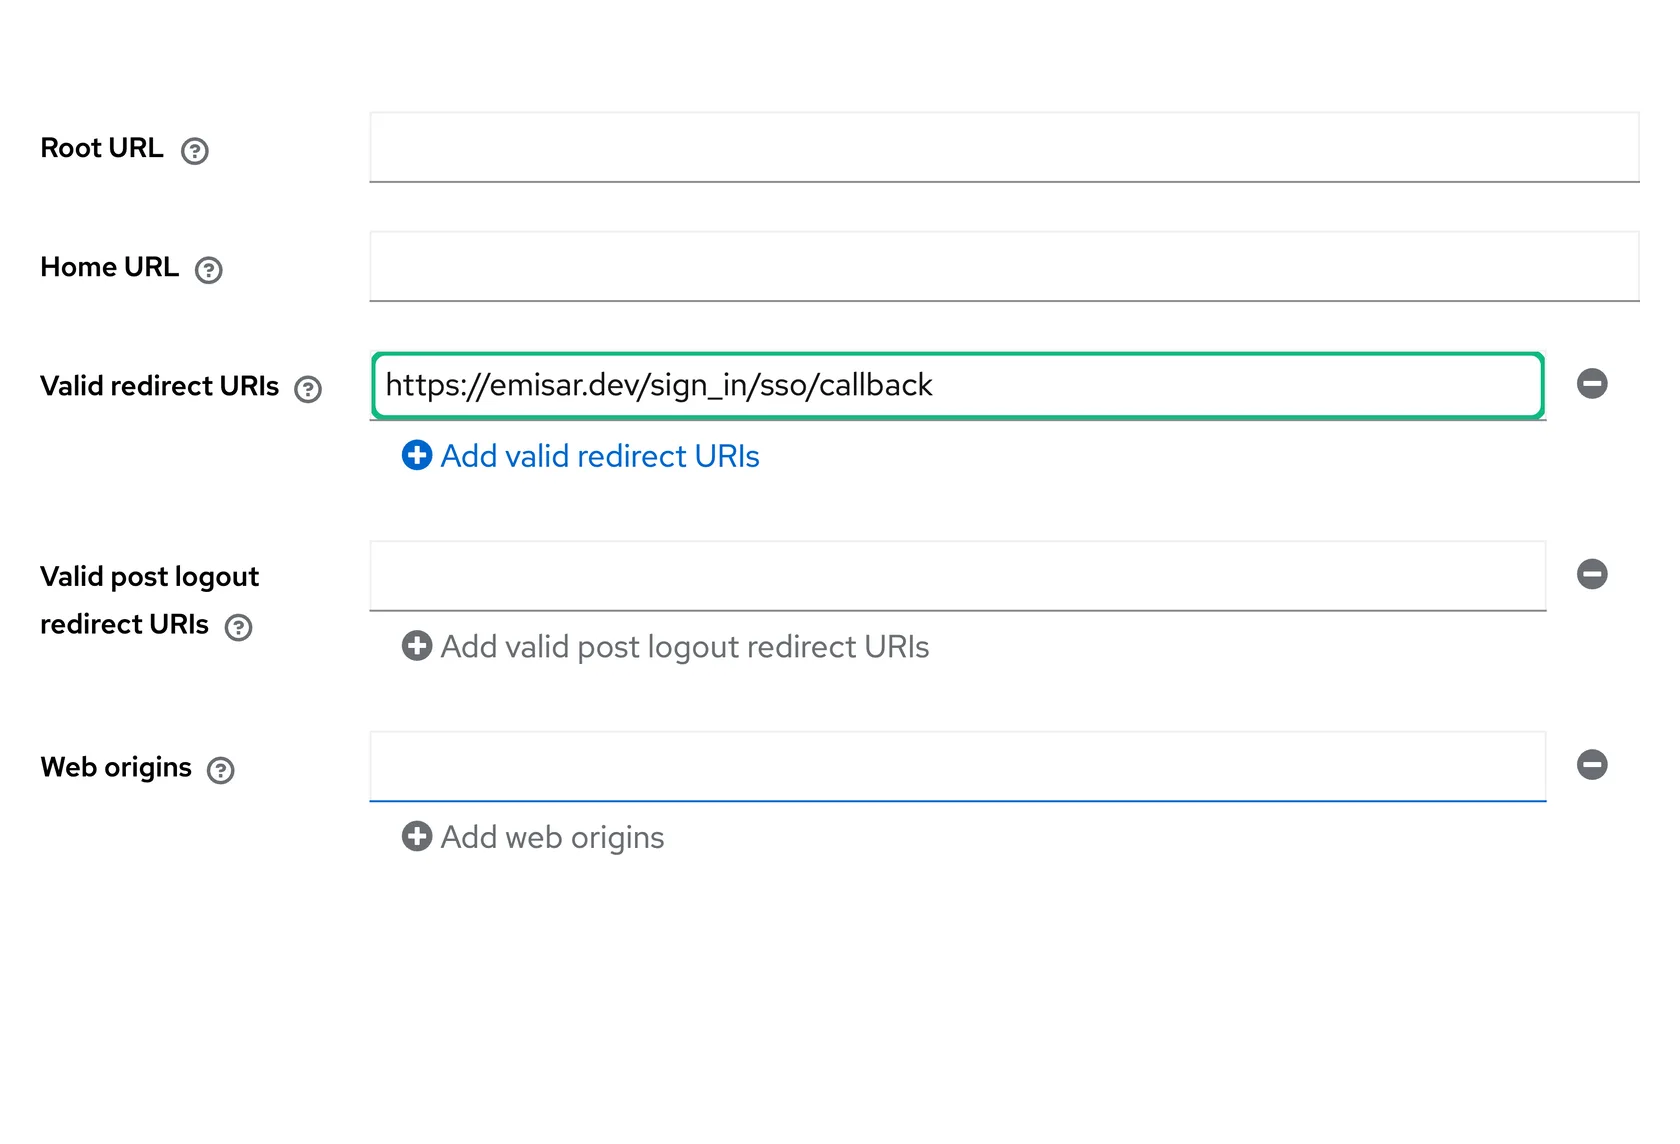
Copy the callback shown in emisar and paste it into Valid redirect URIs. It ends in
/sign_in/sso/callback. Do not add a wildcard. The other URL fields can stay empty. Select Save.Keycloak Admin Console · Login settingsThe screenshot uses a reserved example host; paste the callback from your emisar form verbatim. -
5
In Keycloak
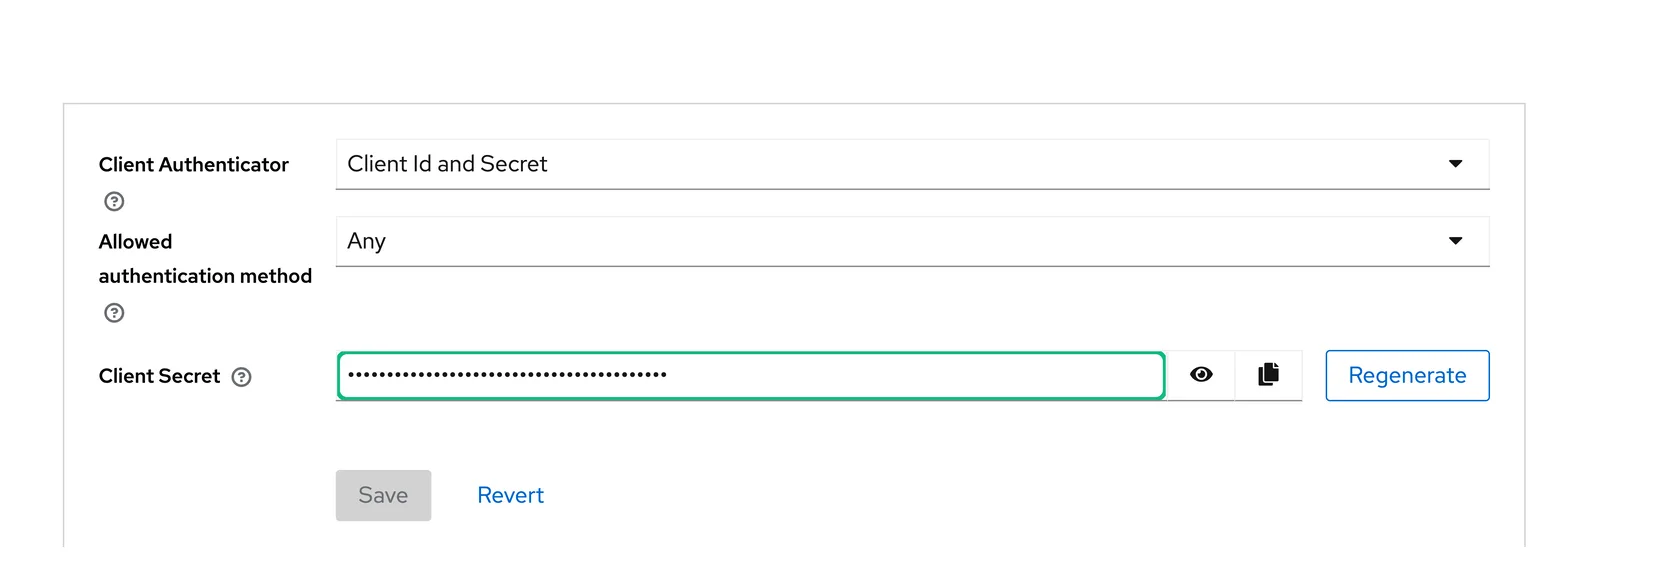
Copy the client secret.
Open the saved client's Credentials tab. Copy its client secret into emisar's Client secret field. Treat the client secret like a password. Do not put it in tickets, chat, or screenshots.
Keycloak Admin Console · CredentialsThe client secret stays masked in this guide. -
6
In Keycloak
Verify the identity scopes.
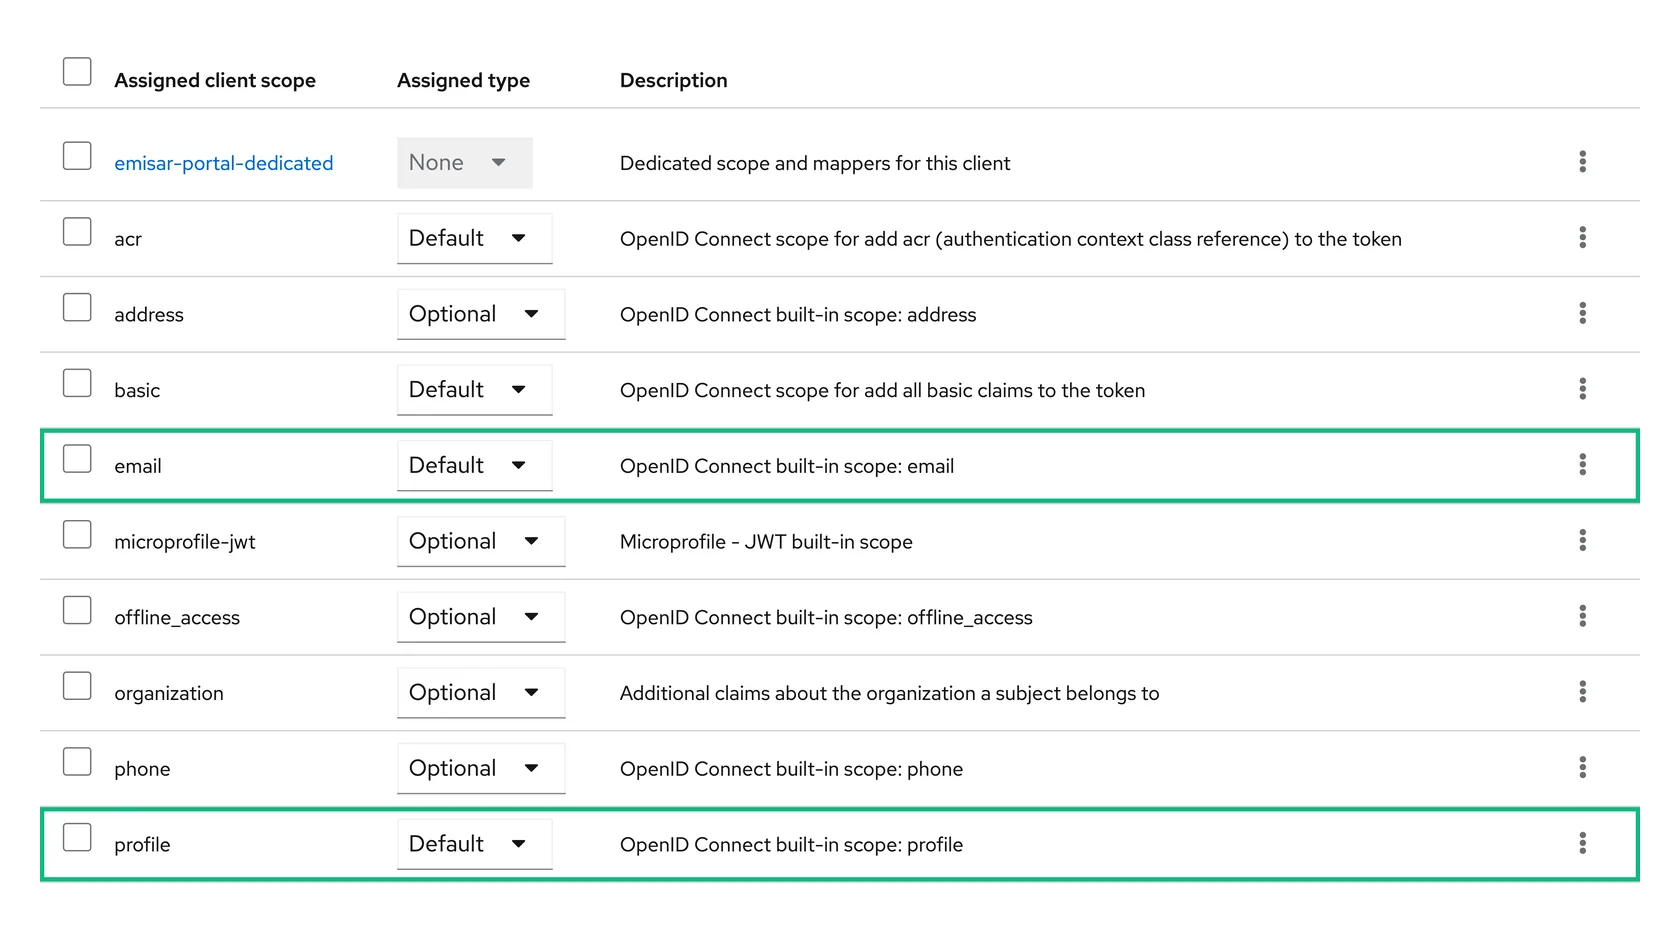
On the Client scopes tab, confirm that
emailandprofileare assigned as Default. The authorization request includesopenid, so Keycloak does not list it as an assigned client scope.Keycloak Admin Console · Client scopesThe default email and profile scopes give emisar the verified identity claims it needs. -
7
In emisar
Connect and test the first sign-in.
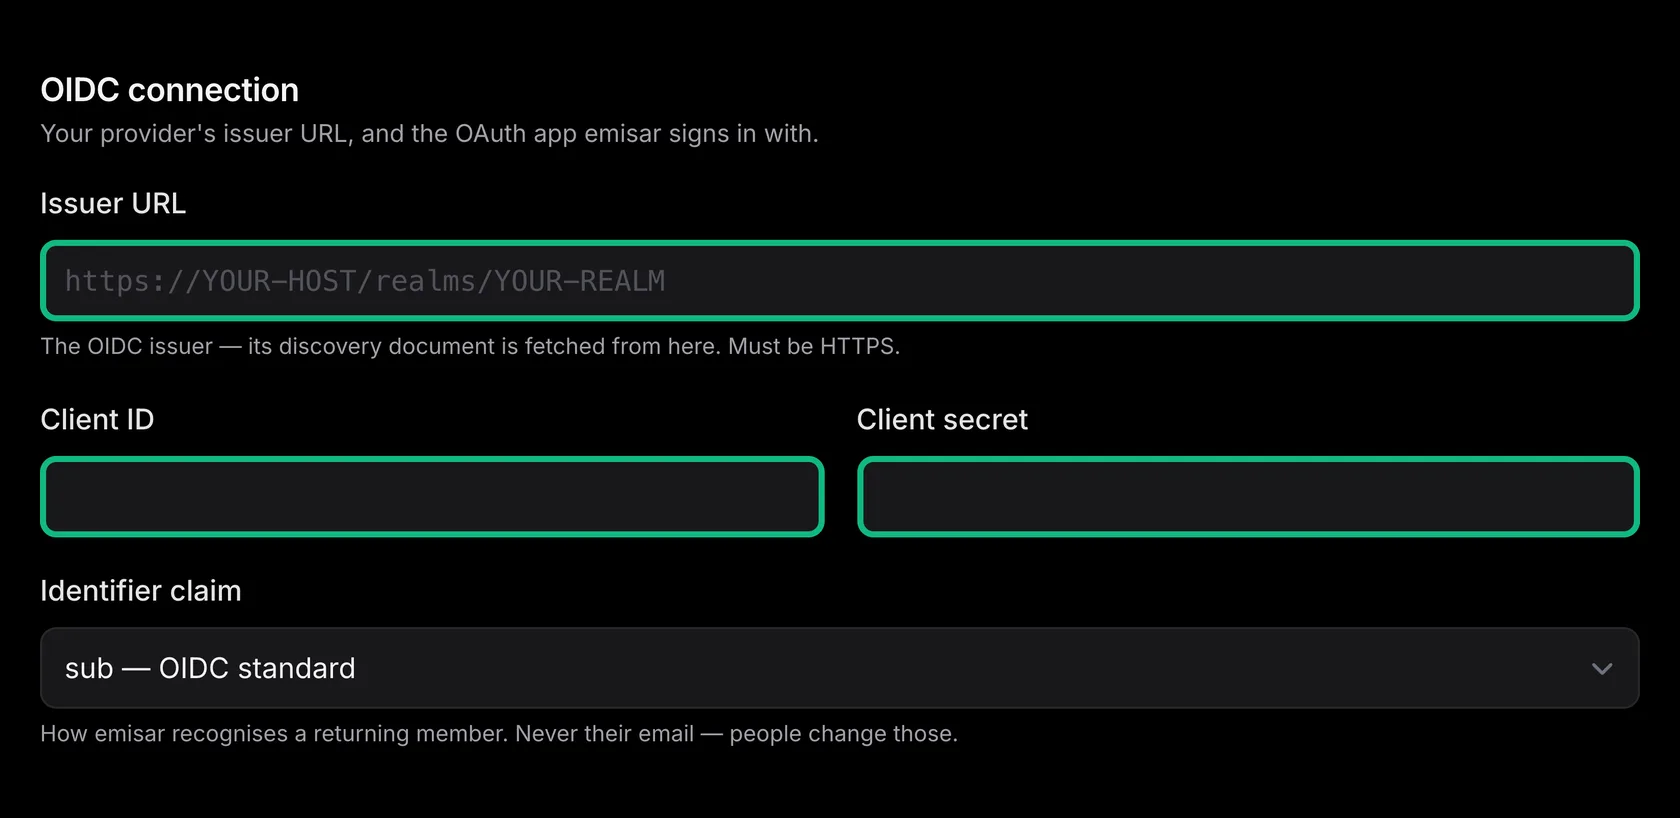
Back on the connection you opened in step 1, paste the client ID and secret, and build the issuer from your Keycloak host and realm:
Issuer URL
https://YOUR-KEYCLOAK-HOST/realms/YOUR-REALMSelect Add connection, then Verify sign-in. Complete the identity checks and sign in with your Keycloak user. After verification, select Enable for members and confirm. New members follow the connection's New members setting: add on first sign-in or require administrator approval.
Your Keycloak has to be reachable from emisaremisar fetches the realm's discovery document, JWKS, and token endpoint from its own network, so the realm URL must resolve to a public address with a certificate from a public CA — private and internal addresses are refused.
Publish an internal Keycloak through a gateway emisar can reach.
emisar · Add connectionThree values from Keycloak. The issuer is the realm URL, not the host on its own.
This guide covers only the provider-specific fields. Single sign-on explains provisioning, default roles, runner access, and provider MFA settings.
Directory sync#
Keycloak cannot push users to emisar — it has no outbound SCIM (its own SCIM Realm API only receives users into Keycloak). Sign-in still works: members are created on their first sign-in, automatically or held for approval, but roles are not mapped and nobody is removed automatically.
Offboarding is therefore two steps: disable the user in Keycloak to block new sign-ins, then suspend or remove the member in Team to end their sessions and revoke their API keys.
A third-party Keycloak provisioning plugin can drive emisar's SCIM endpoint with the base URL and bearer token. emisar does not ship or certify one — you choose, configure, and support it. Only available on Enterprise.